Showing posts with label Chocolate. Show all posts

Friday, August 1, 2014

Gluten Free Chocolate Cake- Annabel Langbein


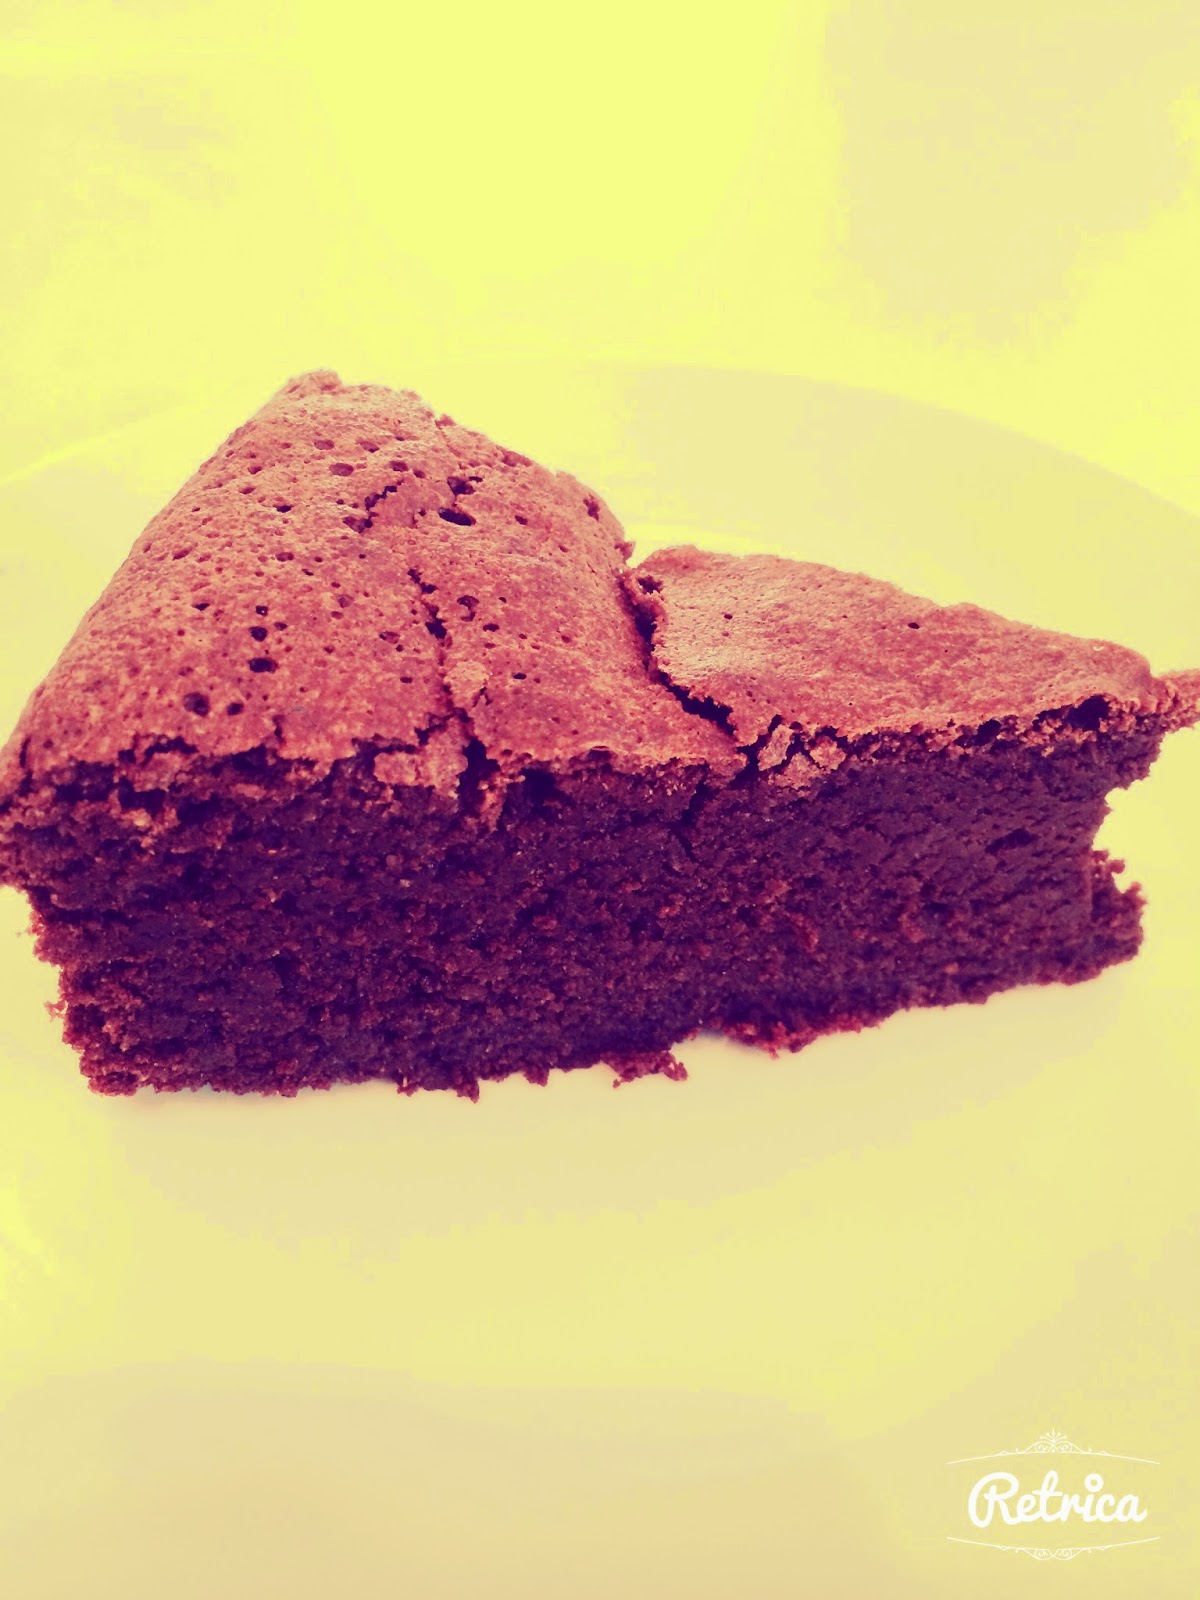
For some reason I just can't seem to get the motivation to post on my blog. I'm still baking but because life is so busy and at times chaotic, blogging is the last thing I feel like doing. However one of the things I love about this blog is that I have a record of some great recipes that I use all the time. This is one of those recipes I don't want to forget about so here it is! As I have said over and over Annabel Langbein is one of my favourite cooks. This recipe is so easy and so satisfyingly good! Yesterday was Dons birthday and as she is gluten free, this was the cake Harry and I chose to make for her. We served it with the most delicious and incomparable Lewis Road Creamery Cream and strawberries (imported as they are out of season here). This cake is rich and dessert like so it really helped having the strawberries to cut through the richness of the cake. Apparently it lasts for ages....I'm taking some to ballet tonight to share the love so I don't think it will last for too long here.

Gluten free Chocolate Cake


  • 250g best-quality dark chocolate, chopped
  • 2 tbsp brandy
  • 2 tbsp strong, hot black coffee
  • 200g butter, chopped
  • 1 cup caster sugar
  • 1 tsp vanilla extract
  • 1¾ cups ground almonds
  • 6 eggs, separated
Preheat oven to 170°C. Line the base and sides of a 23cm-diameter springform cake tin with baking paper (I just greased the sides and lined the base).
Combine chocolate, brandy and coffee in a pot over a low-medium heat and stir until the chocolate has melted. Add butter, sugar and vanilla and stir until butter has melted. Remove from heat and stir in ground almonds. Lightly beat egg yolks and stir into the chocolate mixture.
Place egg whites in a large, clean bowl and beat to firm peaks. Stir a big spoonful of beaten egg white into the chocolate mixture to loosen it, then fold in the rest of the egg whites.
Spoon into prepared tin and bake until risen and set (about 55 minutes). The cake will still be a little gooey in the centre. It may look a little cracked as it develops a crust and can be quite fragile, but this is normal.
Cool completely in the tin, then transfer to a serving plate. Garnish with chocolate shavings, if using. It will keep in an airtight container for more than a week and also freezes well.  

Harry's cake decoration with strawberries making up a love heart

Harry and Mama with his thoughtful present to her

Tuesday, July 9, 2013

Baking for Nightshift- Chocolate Mud cake


In the last Canvas magazine was a selection of Chocolate cakes by Donna Hay. So far I have made two of them (the next one to be posted once I photograph it). I find her recipes a bit hit and miss sometimes. I love her photography and food styling however so still subscribe to her magazine on the ipad even though I rarely cook from them. Both of the cakes I have tried have been right off with the timing. In fact this one I baked for a full 20 mins less and I feel it was still a little overcooked. It was, however, rich and delicious and very easy to make. It's probably more suited to a dessert as it could have done with some cream on the side but the girls still managed to eat it all over the busy night shift we had. As you can see in the photos above the ganache was still pretty runny but who cares....chocolate is chocolate is chocolate!

Chocolate Mud Cake

250 g butter, chopped
200 g dark chocolate, chopped
1 1/3 c milk
1 1/2 c caster sugar
1 tsp vanilla
2 eggs
1 1/2 c plain flour, sifted
1/4 c self raising flour, sifted
1/4 c cocoa, sifted

Preheat oven to 150C and lightly grease and line a 22 cm non stick pan.

Place butter, chocolate, milk, sugar and vanilla in a pot over a medium heat and stir until melted and smooth. Set aside to cool slightly.

Add eggs and whisk to combine. Pour into a large bowl and add the flours and cocoa and whisk until smooth. Bake about an hour but check after 50 mins or so until cooked when tested with a skewer. Allow to cool completely in the tin.

Either dust with extra cocoa powder or else ice with ganache for an over-the-top chocolate hit.

Monday, June 17, 2013

Baking for Nightshift- Chocolate and Banana Brownies


I haven't been baking much for night shift as I have been so busy with just living life and being a working mum. When I have baked it has been something I have made before so I haven't blogged about it or else I have taken photos and then waited so long I have forgotten where the recipe was from. I saw these on a blog I follow called Baking Makes Things Better which is  NZ run blog now attached to Food TV. The site is not too bad....mostly I find it's a bit basic, but I sometimes find a recipe I want to give a go and this one I saved a while ago for when I had motivation and some over ripe bananas. I'm not a huge fan of banana cake and I often have lots of ripe bananas due to the fact that in our household three out of the four of us will only eat a banana when it's almost green. As soon as it goes yellow we aren't interested. Thank goodness for the Yonanas!

Anyway this is yummy. It has a rich chocolate taste and a slight banana flavour. Delicious and easy to make and well worth making again. 


Chocolate and Banana Brownies

175g dark chocolate
175g butter
150g brown sugar
2 medium sized bananas
2 eggs, lightly beaten
1 teaspoon vanilla essence
100g self raising flour
2 teaspoons cocoa
¼ cup chocolate chips (I used milk chocolate)

Preheat your oven to 180°C.  Grease and line a 20cm square tin with baking paper.

In a large saucepan over a medium heat, melt the chocolate, butter and sugar together, stirring until smooth.  Once melted and mixed together, remove from the heat.
In a bowl, mash up the bananas roughly with a fork (I like to have chunks of banana in the brownie).  Add the eggs, bananas and vanilla into the chocolate mixture and stir until well mixed.

Sift in the flour, cocoa and chocolate chips (if using) and mix well.

Pour the mixture into the prepared tin and bake for 30 – 35 minutes.  Remove from the oven and allow to cool completely in the tin before cutting into squares and serving.


Wednesday, April 3, 2013

Baking for Nightshift- Chocolate Mocha Cake


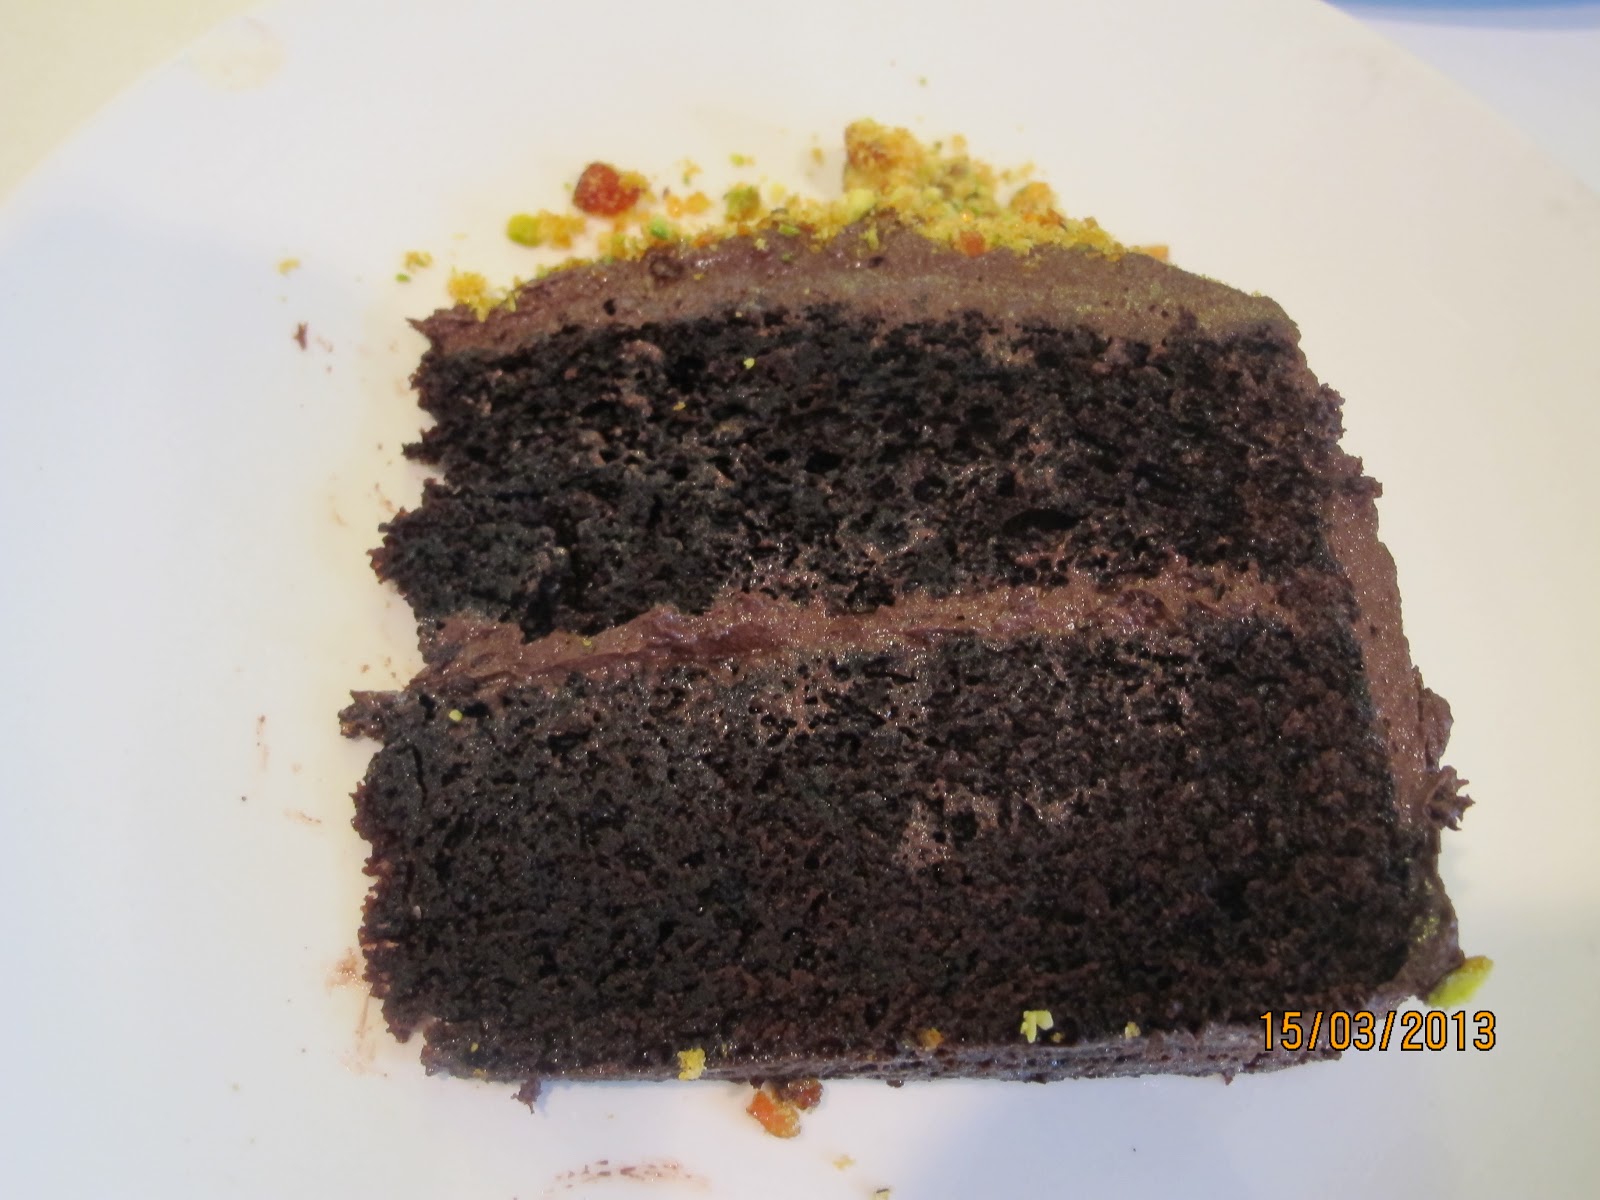
More chocolate I know and there is still more to come. I loved this cake. It was light, full of flavour, not too coffee flavoured (I'm not too keen on too strong a coffee favour in my food) and the praline on top just completed the whole thing. This recipe came from the Foodtown magazine and is well worth making. Delicious!

Chocolate Mocha Cake
2 tsp coffee granules 
1 c warm water
1 3/4 c caster sugar
2 eggs
1 c buttermilk
1 1/2 tsp vanilla
2 c flour, sifted
2 tsp baking soda
1 tsp baking powder
1/2 c cocoa, sifted

Icing
150 g butter, softened
1 1/2 c icing sugar
1/2 c cocoa sifted
1 tsp vanilla
2-4 Tbsp milk
1 tsp coffee, dissolved in 1 Tbsp water

Preheat the oven to 160C and line the base of a 20cm springform tin.

Dissolve coffee into the water and set aside. Place sugar, eggs, oil, buttermilk and vanilla in the bowl of an electric mixer. Beat until combined.

Fold in flour, baking soda, baking paper and cocoa. This is a runny batter. Pour into the tin. 

Bake about 50 mins (it may need a bit longer) until cooked. Cool in the tin.

To make the icing put the butter, icing sugar and cocoa into  mixer and beat until combined. Add the coffee, vanilla and enough milk to get the right consistency. 

Cut the cake in half and spread 1/3 icing onto the bottom layer. Ice all over the rest of the cake with the remaining icing. Sprinkle over the pistachio praline (this is optional).

Pistachio Praline
Place 70g pistachio nuts onto a baking paper lined baking tray. Place 1/2 c water and 1/4 c water into a small pot over a medium heat. Stir until the sugar has dissolved and bring to the boil.Boil until it goes a golden colour then pour over the nuts and set aside to harden. When it cools break it up, put it into a food processor and whizz up. Make sure you do NOT touch the hot toffee....unless you want 3rd degree burns....


Baking for Nightshift- Annmarie's Chocolate Brownie


I know I know I know! I say I'm not going to fall behind in my posts and then life happens and my blog suffers. It's not that I haven't been cooking or baking because I have done plenty of that carry on..... probably more than I should even say. I do have a fair few photos in my albums but now I have the added problem of trying to remember where the heck I got the recipe from! Luckily this recipe is an easy one. In fact this gives a whole lot of bang for your buck! I tried these brownies when we were doing the Easter raffles for our ballet scholarship fundraising when Annmarie brought it over to have with our.....wine.....And a mighty fine mix it was too! They might not look like much and the original recipe doesn't even have chocolate in it however they taste so so so amazing. Like you have used a ton of chocolate...and they have the right amount of gooeyness like a good brownie should (use a decent cocoa though...avoid Cadburys at all costs). I did add some milk chocolate drops and this is the added beauty of this recipe....you can add or leave out extra chocolate and it would still be good. So without further, and much deserved, fanfare here is Annmarie's recipe....

Annmarie's Chocolate Brownie

200 g butter, softened
1 1/2 c caster sugar
3/4 c cocoa (I use Homebrand which is rich and dark and similar to the expensive brands)
1/2 c plain flour
3 eggs
Chocolate drops if you want an even bigger chocolate hit

Preheat the oven to 150C and grease and line a smallish slice tin.

Cream butter and sugar until light and fluffy. Add eggs one at a time. Add in the cocoa and flour and chocolate drops if using.

Bake about 30 mins....don't overdo it though.

Monday, February 25, 2013

Short Black Cupcakes and a Visit with a Friend


My friend Michele and I are old school friends. We both braved and suffered through going to St Mary's College and became best friends who did everything together. She is the only school friend I have any contact with and even after many years of losing touch with each other as she did her big OE, when we re met it was as if no time at all had past. That's the true sign of a great and life long friend. I met Kym and Mary when I was only about 18 years old through Michele who had met them through a flatmate of hers. Many a great and memorable party was had at their place in School Rd, Morningside and (other than Michele), they really mark the beginning of my adult years. Kym's extension of his arm is his camera and he has always been able to see life through it's lens in an incredibly unique way. His archives of life must now be phenomenal as even when I knew him, we used to spend hours looking through his many many photo albums. I would love to one day see the photos of that time of my life and remember how things really were and maybe re live a little of it. That's the beauty of photographs! 

Kym now lives in Melbourne and we were lucky enough to score a bit of his time to catch up properly over some Margaritas, nibbles and of course home baking (is there ever any occasion where home baking isn't a requirement?). It was a lovely few hours spent with old friends remembering the good old days and talking of the present too. I whipped up my delicious lemon shortcake which is an absolute favourite and these Short Black Cupcakes from Donna Hay. I'm not sure if I would make the icing this way again but I was still glad to make something a little different even if I didn't love it. I'll give you the recipe though and you can choose for yourself. The cupcakes themselves were delicious and very very easy to make so I'll do those again.

Short Black Cupcakes

125 g butter, softened
3/4 c caster sugar
2 eggs
1 1/4 c self raising flour
3 Tbsp cocoa
1/2 c milk
100 g dark chocolate, melted and cooled to almost room temperature

Preheat the oven to 160 C (140C fan bake). Line muffins tins (the recipe uses mini muffin tins which must give it the 'short black' name but I used normal tins and got about 15 cupcakes).

Cream the butter and sugar until light and creamy. Add the eggs one at a time beating well after each one. Sift over the flour and cocoa and mix well. Fold through the milk and stir through the chocolate. Spoon into the tins.

Bake about 20 mins for the normal sized tins (or about 10 mins for the mini ones)

Coffee Icing
1 c caster sugar
1/4 c water
1/4 tsp cream of tartar
2 Tbsp instant coffee
3 egg whites

Place the sugar, water, cream of tartar and coffee into a pot. Stir over a high heat until the sugar is dissolved. Bring to the boil, reduce the heat and simmer for 3 minutes. Place the egg whites into a bowl and beat until soft peaks form. With the motor running slowly pour in the syrup and beat until thick and glossy. Spread over the cupcakes and grate over some dark chocolate. Enjoy with old friends.


Michele (aka Moishy) and Kym

The lovely Mary

Harry and Kym...Harry was lucky enough to score these Batman glasses from Kym 

Me, Kym and Moish

Moish, Me, Kym and Mary

Kym, Me and Dons


Kym doing what his life long passion of photography


Archie wanting in on the action...check out that bottom jaw!


And finally the most beautiful and divine Holly (Michele's little baby girl)

Monday, February 11, 2013

Chocolate Mocha Pots with Cinnamon Shortbread

The little jars are the Gu dessert containers....you get to buy a dessert AND keep the jar!


The other night we went out for dinner to a friends house and I, of course, offered to take dessert. After trawling through multiple recipe books, blogs and cooking magazines and getting totally overwhelmed by the shear volume of recipes (my own fault I know), I finally settled on two. The first was the Hazelnut Pavlova Gateau Cake from Julie Le Clerc's newish book and this was the second one. I forgot to take photos of the the Hazelnut one which is ok as I don't think it was really my sort of thing so I probably wouldn't have posted it on here anyway. It did look lovely though.....

This was the second choice and the recipe comes from Peter Gordon's new cookbook called 'Everyday' While I don't normally go for his style of food this book is lovely and a little less 'fusion' than his other ones. This recipe is very very rich so if your aren't a diehard chocolate lover I wouldn't go for this. The cinnamon shortbread are pretty good too and are baked as a whole then sliced afterwards. I have never made shortbread this way before but I have to say it does give you nice clean cut lines. Next time, though I would cut the cinnamon down to maybe 1 tsp as I found it a bit strong. Oh and by the way all the liquid ingredients are weighed rather than measured because he says it makes it more accurate.

Chocolate Mocha Pots with Cinnamon Shortbread

280 g milk
250 g cream
2 tsp espresso ground coffee (the grains not the made espresso), or instant coffee
100 g caster sugar
4 egg yolks
200 g dark chocolate roughly chopped

Place the milk, cream, coffee and 50g caster sugar into a pot and slowly bring to a simmer stirring frequently. Turn the heat off, cover with a lid and leave to infuse for 10 mins.

Take the lid off and slowly bring back to the boil stirring as you do.

Whisk the egg yolks with the remaining 50g caster sugar. When the milk has come back to heat, whisk about a 1/3 of it into the eggs, then pour it back into the pan with the rest of the cream mixture.

Stir over a moderate heat until the custard coats the back of a spoon (takes 2-4 mins). Take off the heat and whisk in the chocolate until it's incorporated, then pour through a fine sieve a couple of times to remove the coffee grounds (if this is what you have used). Pour into glasses or ramekins and put in the fridge for about 4 hours.

Serve with some lightly whipped cream on top and the shortbread.

Cinnamon Shortbread

250 g unsalted butter at room temperature
160 g caster sugar
250 g flour
130 g cornflour
2 tsp ground cinnamon (I think 1 tsp would be enough)
1 pinch salt

Preheat oven to 170C and line a tray with baking paper.

Cream butter and sugar. Sift together the flour, cornflour, cinnamon and salt and mix gently into the creamed mixture.

Pat out on the tray with your hands or a rolling pin until you get a rectangle about 1 cm thick. Cut with a sharp knife into squares or bars.

Bake 20-25 mins until golden then cut them again where you have already cut. cool on the tray for 5 mins then transfer them to a rack to cool completely.

Saturday, January 12, 2013

Decadent Chocolate Cake and a Day with the Whanau


I know I know I said I would keep up with blogging but things being what they are and life and work being as busy as it is, I just haven't had the time (or inclination) to blog. As well as that we finally seem to have summer upon us and it's far too hot to do anything that involves too much sitting down at the computer. Not that I'm complaining after last years non event that was summer! However with the heat comes the inevitable aversion to baking. It's not that I don't want to but when the flies are having a party on your food, your clothes are sticking to you and the butter is melting far too fast on the benchtop, it's hard to get inspired. So when I can't stand being out of the kitchen anymore, I try to make things that are fairly labour non-intensive. This cake falls into that category. I made this for our family gathering up at Dons brothers place in a semi rural area about 40 minutes from where we live. We had such  a lovely time where the kids all went feral hanging out together, we got to have a laugh and a good catch up. If you like something that is rich but light and packs a real chocolate punch then this cake is the one for you. It is also very very easy to make....just stay out of the kitchen while it's cooking.


Decadent chocolate cake

1 Tbsp instant coffee powder
1 c hot water
250g butter, chopped into large chunks
200g good quality dark chocolate, chopped (I used Whittaker’s 62% Cocoa)
2 c caster sugar
1½ c self-raising flour
¼ c cocoa
2 eggs, lightly beaten
2 tsp vanilla essence

Ganache Topping

¾ c cream
175g good quality dark chocolate, chopped


Preheat the oven to 150ºC. Lightly grease a 25cm springform cake pan and line the base and sides with baking paper.

Place coffee and water in a saucepan and add the butter. Stir over a low heat until the butter has melted. Add the chocolate and stir until melted.

Add the caster sugar and stir until smooth and the sugar is incorporated. Remove the mix from the saucepan and transfer into a bigger bowl.

Sift the flour and cocoa together and beat with an electric beater into the mixture until just incorporated. Beat in the eggs and then the vanilla.

Pour the mixture into the cake tin and bake at 150ºC for about 1½ hours or until a skewer inserted in the centre comes out clean. Stand for 10 minutes before removing to a cake rack. 

The cake can be frozen by wrapping, once cold, in a layer of cling film and then a layer of tin foil. While frozen it is easier to trim off any rough bits or flatten the top.

Ganache Topping

Heat the cream until almost boiling. Stir in the chocolate until melted and the mixture is smooth. Cool slightly.

Pour over the cake allowing the ganache to dribble down the sides of the cake evenly. 

Marcel and Reubs

Tarn, Tam, Dons, Jules and Lavea

Me (in the races hat), Dons, Tarn, Tam

Harry and Ce Ce playing with the cardboard boxes down the hill....this proved to be the thing the kids played with the most!

The very delicious Ante

Brother and sisters

Harry in action


Holls and Harry mid slide

Jen the Hen with her hens

Playing with kids....hows that for a backyard!

Jack mid slide


Good old curried eggs!

The view from the deck


And the big ones playing touch

Lovely little toes belonging to our nephew Ante

My big boy