Showing posts with label cake. Show all posts

Friday, August 1, 2014

Gluten Free Chocolate Cake- Annabel Langbein


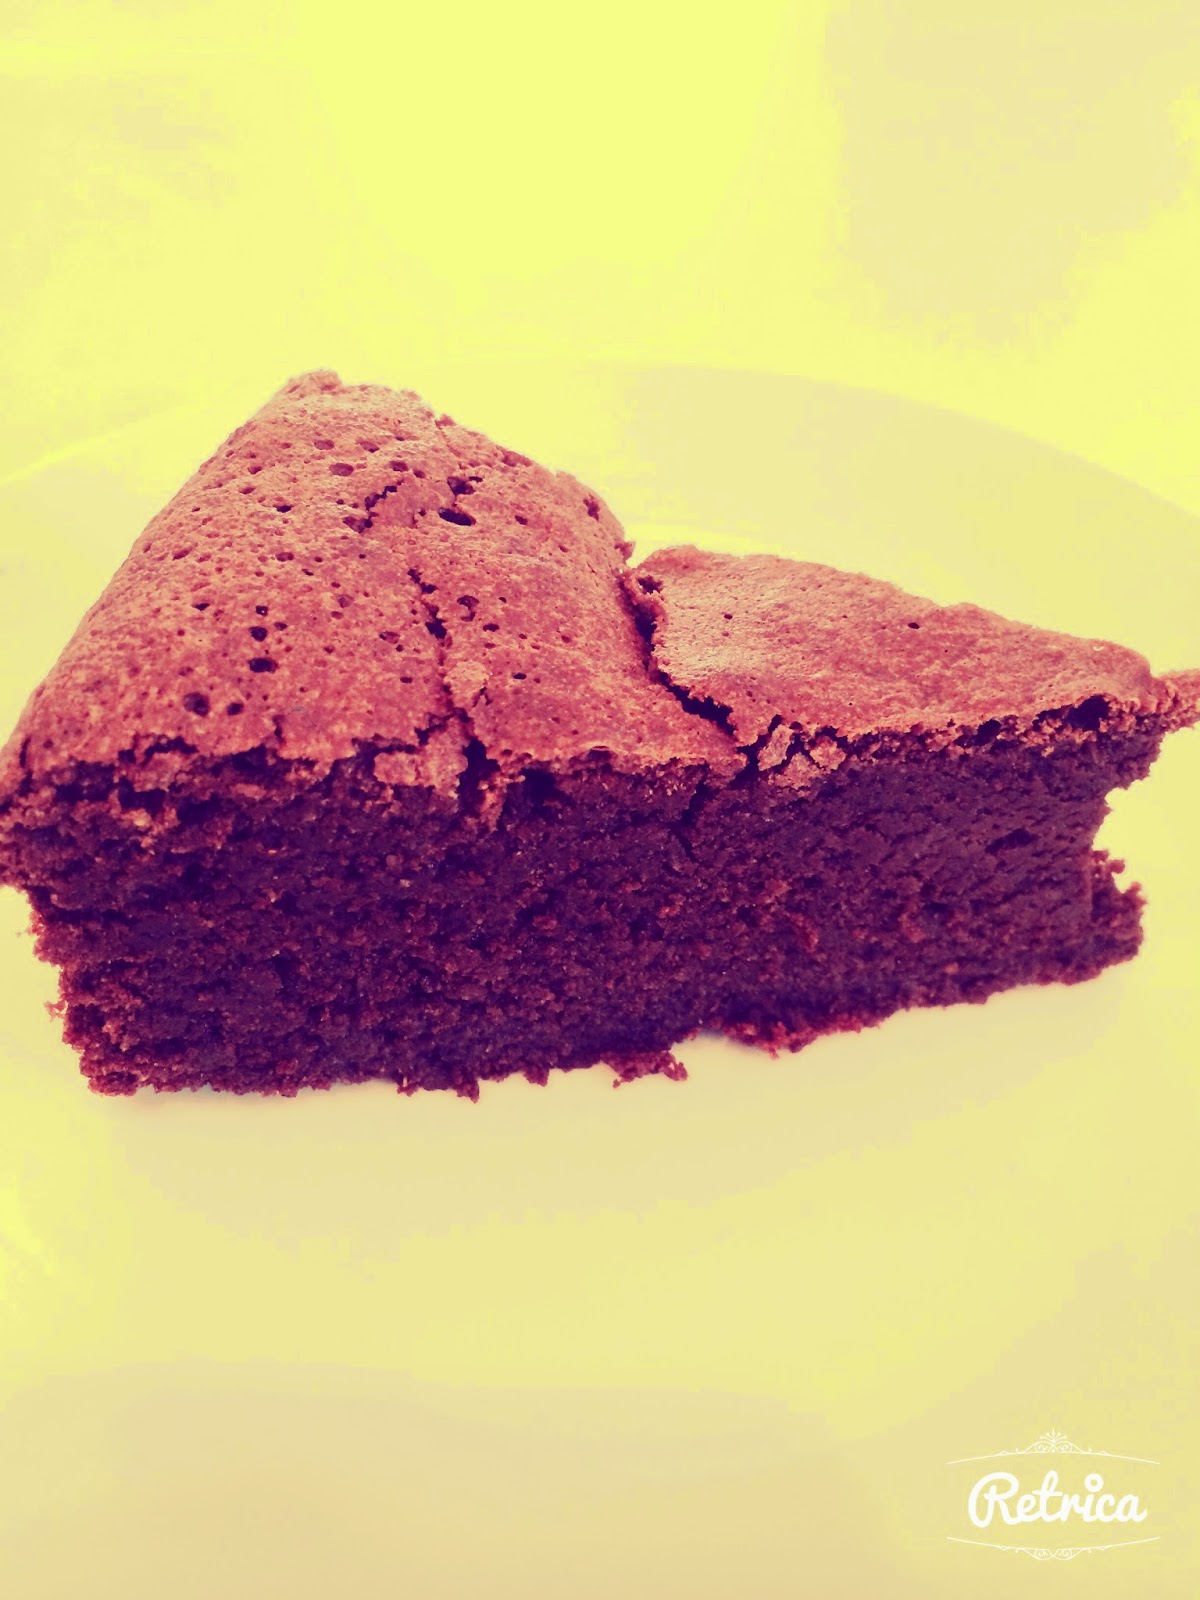
For some reason I just can't seem to get the motivation to post on my blog. I'm still baking but because life is so busy and at times chaotic, blogging is the last thing I feel like doing. However one of the things I love about this blog is that I have a record of some great recipes that I use all the time. This is one of those recipes I don't want to forget about so here it is! As I have said over and over Annabel Langbein is one of my favourite cooks. This recipe is so easy and so satisfyingly good! Yesterday was Dons birthday and as she is gluten free, this was the cake Harry and I chose to make for her. We served it with the most delicious and incomparable Lewis Road Creamery Cream and strawberries (imported as they are out of season here). This cake is rich and dessert like so it really helped having the strawberries to cut through the richness of the cake. Apparently it lasts for ages....I'm taking some to ballet tonight to share the love so I don't think it will last for too long here.

Gluten free Chocolate Cake


  • 250g best-quality dark chocolate, chopped
  • 2 tbsp brandy
  • 2 tbsp strong, hot black coffee
  • 200g butter, chopped
  • 1 cup caster sugar
  • 1 tsp vanilla extract
  • 1¾ cups ground almonds
  • 6 eggs, separated
Preheat oven to 170°C. Line the base and sides of a 23cm-diameter springform cake tin with baking paper (I just greased the sides and lined the base).
Combine chocolate, brandy and coffee in a pot over a low-medium heat and stir until the chocolate has melted. Add butter, sugar and vanilla and stir until butter has melted. Remove from heat and stir in ground almonds. Lightly beat egg yolks and stir into the chocolate mixture.
Place egg whites in a large, clean bowl and beat to firm peaks. Stir a big spoonful of beaten egg white into the chocolate mixture to loosen it, then fold in the rest of the egg whites.
Spoon into prepared tin and bake until risen and set (about 55 minutes). The cake will still be a little gooey in the centre. It may look a little cracked as it develops a crust and can be quite fragile, but this is normal.
Cool completely in the tin, then transfer to a serving plate. Garnish with chocolate shavings, if using. It will keep in an airtight container for more than a week and also freezes well.  

Harry's cake decoration with strawberries making up a love heart

Harry and Mama with his thoughtful present to her

Friday, February 14, 2014

Buttery Orange Cake and a Looooonnnng Break


I know it has been months and months since I posted. If I am to be totally honest my blogging mojo has kind of waned a bit. I have still been baking and even taking photos but when it comes to sitting down and actually focusing on blogging about it I just haven't had the motivation or desire to do so. So I figure that maybe I have to change tack and aim to still blog but do so less frequently? Who knows? All good intentions maybe? It doesn't help that life seems so busy...I think that is the working mothers cry internationally. I'm lucky I have a much older son who, at 16 years old, is pretty independent, but my 9 year old is still dependent and as he dances 3-4 times a week as well as ballet competitions etc etc our lives are pretty much taken up with all of that. 

Anyway I whipped this cake up for work on Waitangi Day for those of us working on a public holiday while the rest of NZ enjoyed the sunny day, which explains the paper towel and very average photos...taken on my phone before it all disappeared. However this cake was anything but average. I loved the texture and the flavour. I didn't glaze it like the recipe said and instead iced with some orange cream cheese icing to use up half of a container of cream cheese before it expired. 


Buttery Orange Cake

250g unsalted butter, softened
2 Tbsp orange rind
1 1/2 cups caster sugar
4 eggs
1 1/2 cups self-raising flour
1/2 c plain flour
¾ cup (180ml) orange juice 

METHOD

Preheat the oven to moderate (170°C/150°C fan-forced). Grease a deep 23cm round cake pan, line base with baking paper (I used a 20cm square tin).

Beat butter and sugar with an electric mixer until light and fluffy.

Add eggs, one at a time, beating until combined between additions. Fold in sifted flour and orange juice in 2 batches. 

Bake about an hour.

Tuesday, November 5, 2013

Ante Turns 1! The Very Hungry Caterpillar.....

Ante turns 1

Very hungry caterpillars waiting for their cake


Amazing cake made by Bex (Ante's mum)

Harry, Holls and Grayson

Dons

Marcel and Bubba


Bex and Ante

Jack- now a black belt in Karate

Jules

Dion and Tia

Jimmy

Jen


Fiona and Kiwi

Tarn and Beau beau

Kiwi and Billy

Tam and Jimmy

Selfie with the sister in laws

Mons and Cooper
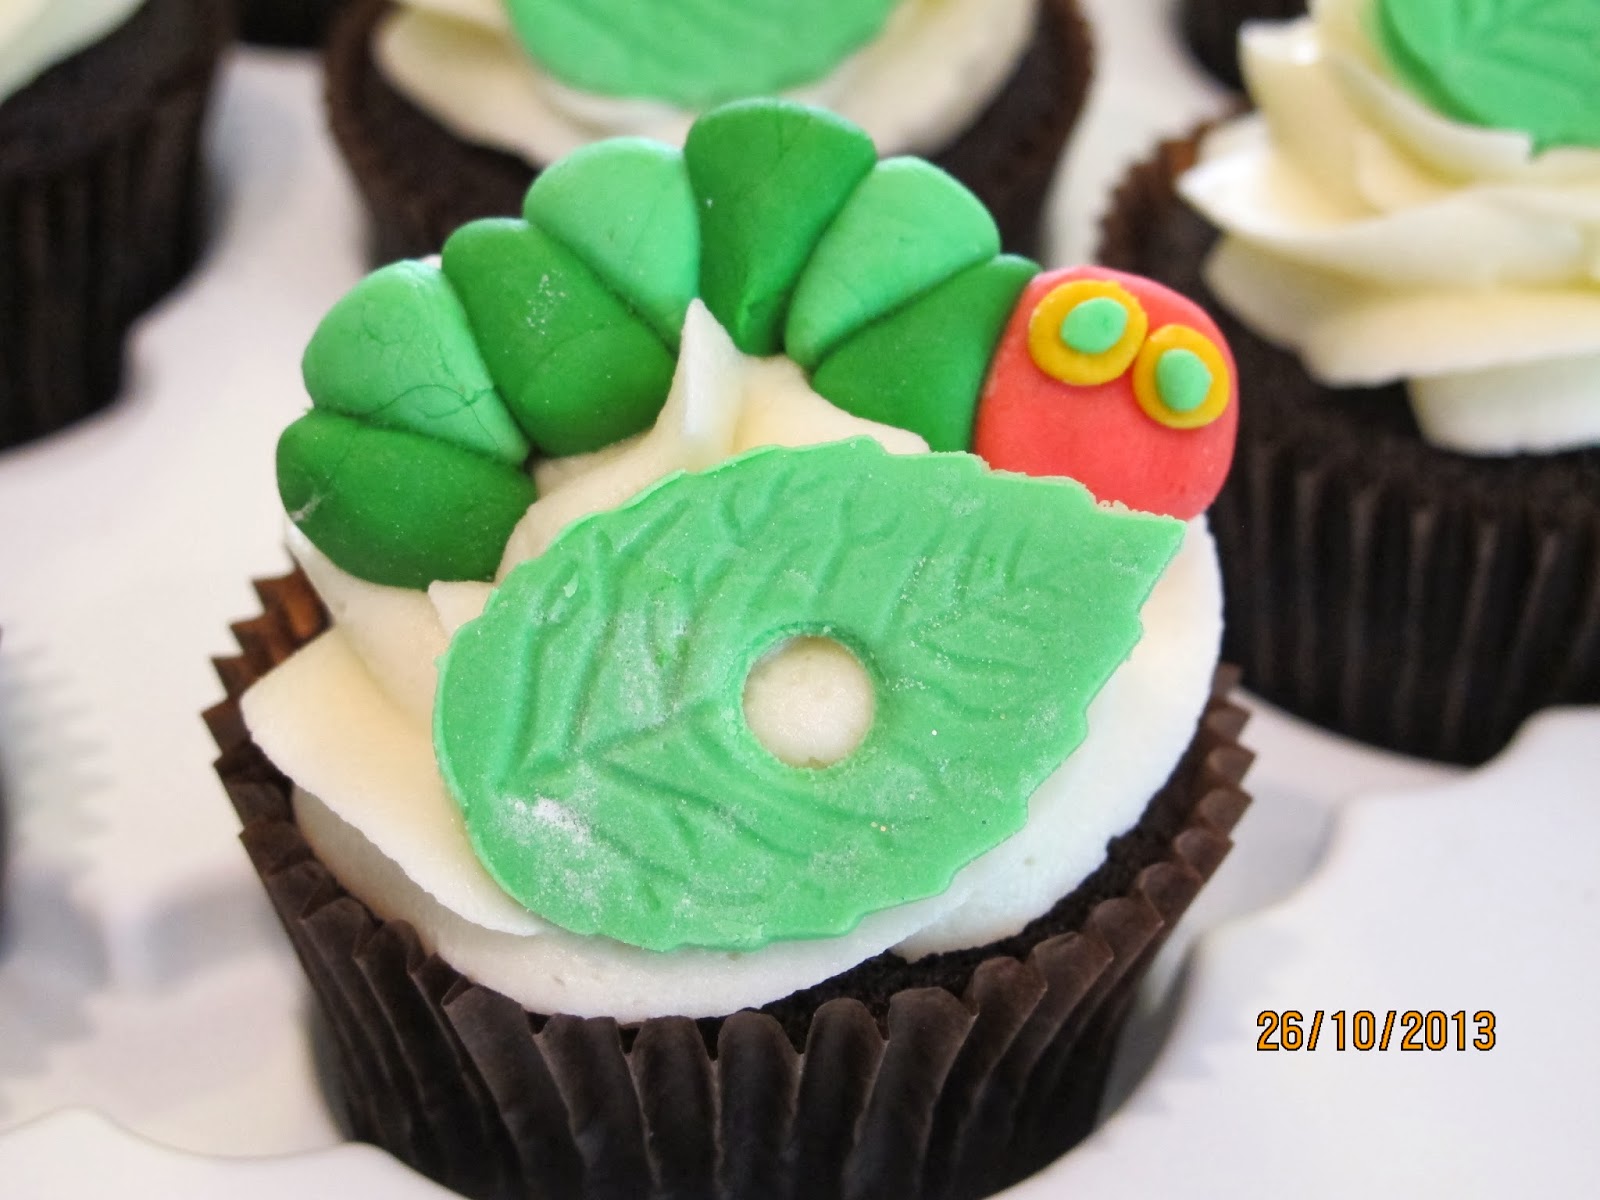
Our most precious nephew Ante turned one the other week and we got to celebrate it on a beautiful sunny day with all the whanau. The theme was The Very Hungry Caterpillar and his mum Bex made the amazing cake. I whipped up some cupcakes and after doing a search online I found these cute little fondant caterpillars. I think my ones turned out pretty well.

Baking for Nightshift- Banana Cake with Cream Cheese Icing


This is one delicious banana cake. I have to say I am not a big fan of banana cake at all, in fact it's my least favourite flavour. However I have made this a few times since I found this recipe. What I like about it is that it's a pure and simple and unadulterated banana cake with no frills, spices or additions. AND it tastes great....that could have something to do with the fact that sitting on top is a layer of cream cheese icing maybe? It makes a big cake which is made in a tray tin so although it isn't tall it's certainly big enough. You can find the recipe here. The girls at work that night loved this cake and one of them adores banana cake so surely that has to some sort of endorsement?

Friday, October 11, 2013

Oma's One and Only Dutch Apple Tart- Chelsea Winter


OMG have I got a ton of stuff to blog about. In fact no doubt I will have forgotten where I got a recipe from it's been so long since I have made it! I'll do my best to remember but I really can't promise anything. Life for our household is pretty full on. With working shifts full-time (and having 6 weekends in a row), my boys being at school and all of that routine, trying to keep on top of housework, varying other commitments and all of Harry's dance stuff there is precious little time for anything else. While I always talk about having people over for dinner or lunch, the reality is that we barely see anyone socially. Time for a change.....she said.....famous last words I think!

Anyway I made this delicious and easy tart/cake for my recently bought Chelsea Winter cookbook. For those NZ Masterchef followers out there, you will know she won it last year. I can't say she was my pick and I can't even remember what converted me to liking her but regardless of what it was she is actually a very good and accessible cook. Her book is well worth it and if you have a Facebook account 'like' the page. You might find yourself a convert like me! This recipe is really yummy and would make a good afternoon tea cake or a simple dessert.

Oma's One and Only Apple Tart (Chelsea Winter 'At My Table')

5-6 medium apples (I used Braeburn and Granny Smith)
1 Tbsp each lemon zest, lemon juice and cinnamon
1 tsp mixed spice
1/2 tsp grd ginger
1 Tbsp sugar
150g butter, slightly softened and cubed
200g sugar
3 eggs
1 tsp vanilla
220g plain flour
1 tsp baking powder
3 Tbsp milk
1/2 c blueberries
2 Tbsp apricot jam
1 Tbsp boiling water

Preheat oven to 160 C fan bake (or 180 C). Grease a 20cm springform tin with butter and dust with some flour (tip out the excess).

Peel and core the apples and cut into segments (cut into quarters then again 2-3 times). Put into a bowl and add the lemon zest, juice, cinnamon, mixed spice, ginger and the 1 Tbsp sugar. Mix well to combine and coat the apple and set aside.

Cream the butter and second measure of sugar together until thick and pale. Add the eggs one at a time beating after each addition. Add the flour and baking powder and mix until just combined then mix in the milk. You will have a thick creamy batter.

Spread and thin layer of batter in the base of the tine. Gently place a ring of apple slices very close together all the way around the inside edge of the tin, lightly pressing them down. Put the 'fat' end of the apple towards the outside of the tin.. Repeat with another layer inside each previous ring until the batter is totally covered with apples. Pour over the lemony liquid (I barely had any) over the apple. If there is a lot only put over half. Scatter over the blueberries. Put the remaining batter over the top and spread as best you can do. Repeat with the apple slices.

Bake about 1 hour or until golden, puffy and set in the middle.

Make a glaze with the apricot jam ad boiling water and brush all over the cake.

Do not store in the fridge.

Tuesday, July 9, 2013

Baking for Nightshift- Chocolate Mud cake


In the last Canvas magazine was a selection of Chocolate cakes by Donna Hay. So far I have made two of them (the next one to be posted once I photograph it). I find her recipes a bit hit and miss sometimes. I love her photography and food styling however so still subscribe to her magazine on the ipad even though I rarely cook from them. Both of the cakes I have tried have been right off with the timing. In fact this one I baked for a full 20 mins less and I feel it was still a little overcooked. It was, however, rich and delicious and very easy to make. It's probably more suited to a dessert as it could have done with some cream on the side but the girls still managed to eat it all over the busy night shift we had. As you can see in the photos above the ganache was still pretty runny but who cares....chocolate is chocolate is chocolate!

Chocolate Mud Cake

250 g butter, chopped
200 g dark chocolate, chopped
1 1/3 c milk
1 1/2 c caster sugar
1 tsp vanilla
2 eggs
1 1/2 c plain flour, sifted
1/4 c self raising flour, sifted
1/4 c cocoa, sifted

Preheat oven to 150C and lightly grease and line a 22 cm non stick pan.

Place butter, chocolate, milk, sugar and vanilla in a pot over a medium heat and stir until melted and smooth. Set aside to cool slightly.

Add eggs and whisk to combine. Pour into a large bowl and add the flours and cocoa and whisk until smooth. Bake about an hour but check after 50 mins or so until cooked when tested with a skewer. Allow to cool completely in the tin.

Either dust with extra cocoa powder or else ice with ganache for an over-the-top chocolate hit.

Wednesday, April 3, 2013

Baking for Nightshift- Chocolate Mocha Cake


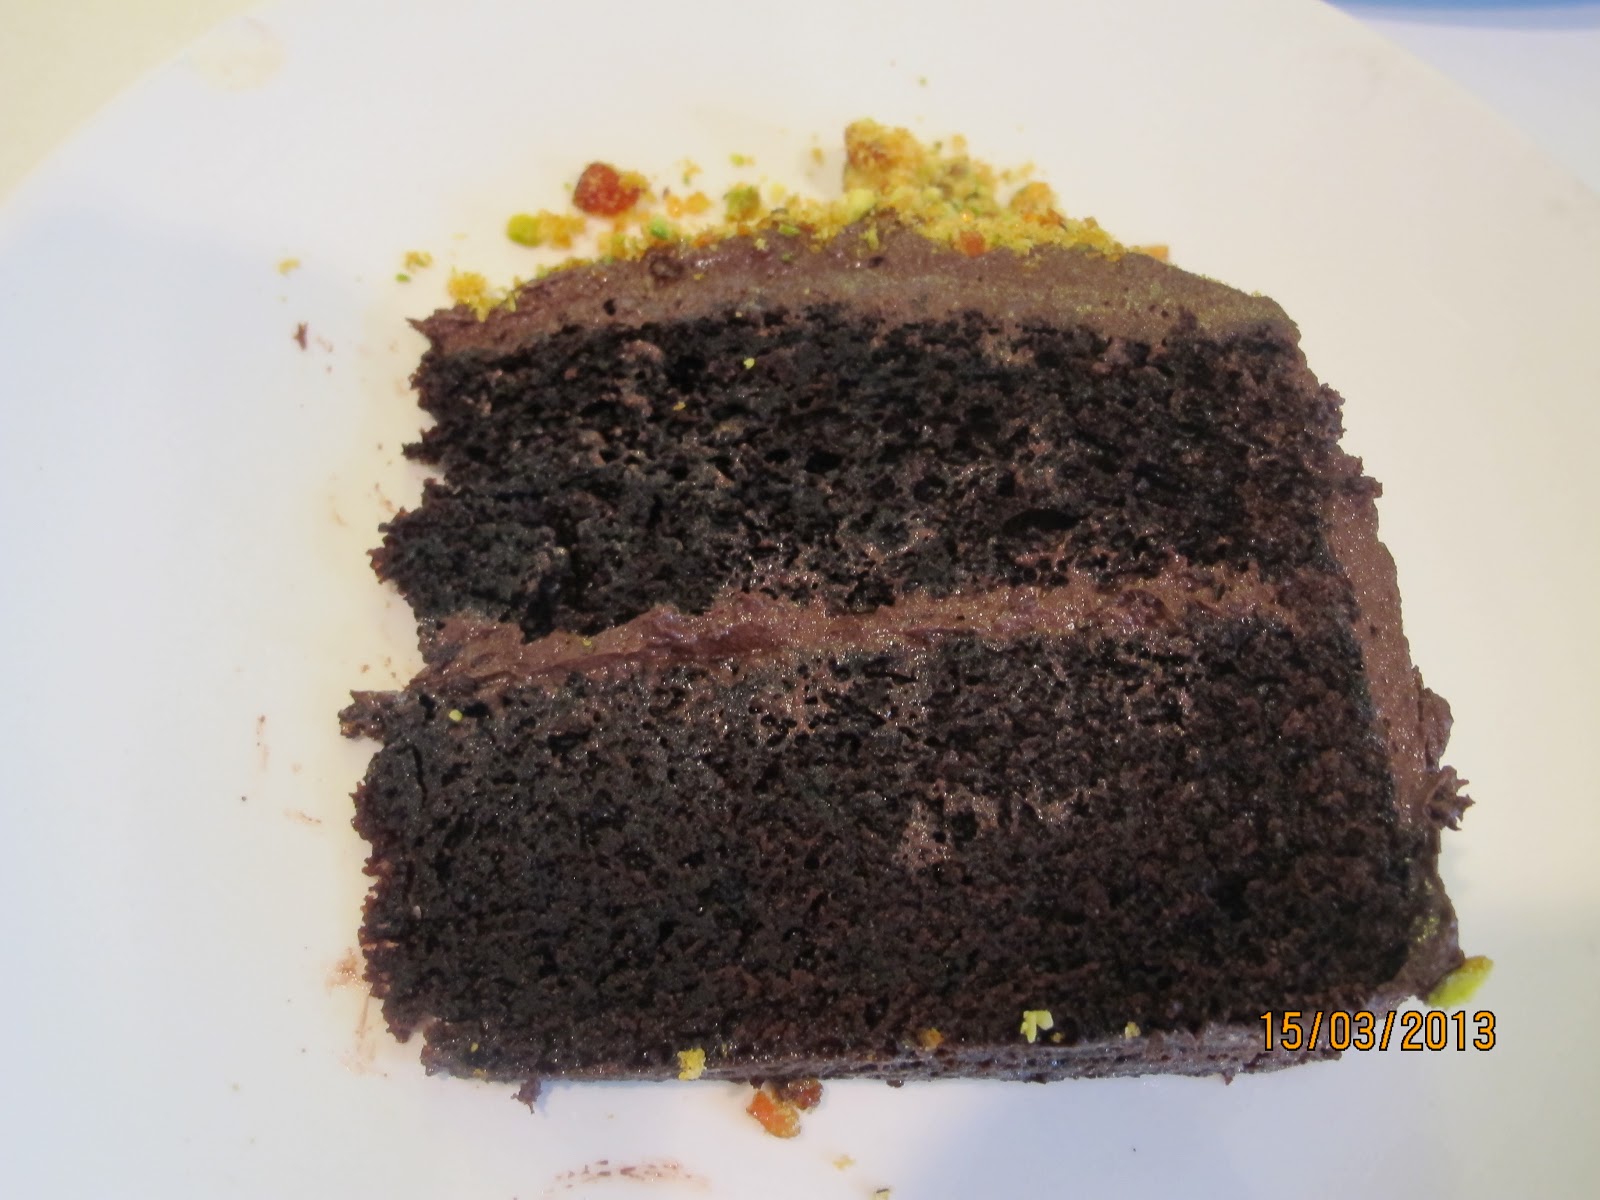
More chocolate I know and there is still more to come. I loved this cake. It was light, full of flavour, not too coffee flavoured (I'm not too keen on too strong a coffee favour in my food) and the praline on top just completed the whole thing. This recipe came from the Foodtown magazine and is well worth making. Delicious!

Chocolate Mocha Cake
2 tsp coffee granules 
1 c warm water
1 3/4 c caster sugar
2 eggs
1 c buttermilk
1 1/2 tsp vanilla
2 c flour, sifted
2 tsp baking soda
1 tsp baking powder
1/2 c cocoa, sifted

Icing
150 g butter, softened
1 1/2 c icing sugar
1/2 c cocoa sifted
1 tsp vanilla
2-4 Tbsp milk
1 tsp coffee, dissolved in 1 Tbsp water

Preheat the oven to 160C and line the base of a 20cm springform tin.

Dissolve coffee into the water and set aside. Place sugar, eggs, oil, buttermilk and vanilla in the bowl of an electric mixer. Beat until combined.

Fold in flour, baking soda, baking paper and cocoa. This is a runny batter. Pour into the tin. 

Bake about 50 mins (it may need a bit longer) until cooked. Cool in the tin.

To make the icing put the butter, icing sugar and cocoa into  mixer and beat until combined. Add the coffee, vanilla and enough milk to get the right consistency. 

Cut the cake in half and spread 1/3 icing onto the bottom layer. Ice all over the rest of the cake with the remaining icing. Sprinkle over the pistachio praline (this is optional).

Pistachio Praline
Place 70g pistachio nuts onto a baking paper lined baking tray. Place 1/2 c water and 1/4 c water into a small pot over a medium heat. Stir until the sugar has dissolved and bring to the boil.Boil until it goes a golden colour then pour over the nuts and set aside to harden. When it cools break it up, put it into a food processor and whizz up. Make sure you do NOT touch the hot toffee....unless you want 3rd degree burns....


Tuesday, March 5, 2013

Plum and Pistachio Tart


I made this for when my sister in law came over for dinner with the most gorgeous little pork chop you could ever see (otherwise known as Ante our nephew), when her husband was overseas for work. I always like to serve a dessert and at the time I was inspired by the delicious plums I have got of George and Russ's tree and had bottled. So I cracked open a jar of these and used them but you could also just open and large can of plums from the supermarket and this would be just as delicious. I loved the green colour from the pitachios with the purple of the plums. It was a perfect end to dinner...not too heavy and not too light...in other words a definite make-again! 

Plum and Pistachio Plum Tart

1x 750g tin Black Doris Plums, drained
70 g pistachios
40 g ground almonds
1/3 c self raising flour
1/2 c caster sugar
100g butter, melted
finely grated zest of 1 lime and 1/2 orange
2 eggs, lightly beaten
1 tsp vanilla
2 Tbsp apricot jam, warmed (I didn't do this as I had just used all of my apricot jam up)

Preheat the oven to 180 C (160C fan forced) and grease a 23-24 cm tart tin (or a 11 x 35cm one) with a removable base. Line with baking paper.

Halve and stone the plums then put cut side down on paper towels to absorb some of the moisture.

Pu the pistachios and almonds into a food processor and process until finely chopped. Set aside 1 Tbsp and tip the remaining nuts into a bowl. Add flour, sugar, butter, zests, eggs and vanilla. Beat with a wooden spoon to combine and pour into the tin and spread it our evenly.

Arrange plums cut side down on the batter. You may not use them all. 

Bake 25-30 mins until top is golden and the filling puffed and firm tot he touch. Remove from the oven and brush with the warmed jam. Cool

After taking it out from the tin sprinkle with the reserved nuts and lightly dust with icing sugar. Serve with softly whipped cream or some nice yoghurt.


Monday, February 25, 2013

Baking for Nightshift- Salted Caramel Bundt Cake


My final post for this flurry of posts (especially difficult because I have only had 30 mins sleep since yesterday afternoon!), is this cake. I made this for my first night shift on Friday night. I love anything caramel and anything salted caramel just elevates it to a more sublime level. This cake had a tender crumb and the icing just made it even better. I have to say it wasn't overly caramel but I think that was ok as it wasn't too too sweet which can be a little overwhelming with caramel sometimes. I got a few cupcakes out of the mixture too and I can tell you that this cake keeps very very well. 

Of note I made 1 1/2 times the recipe so I got a bigger cake out of it and it definitely increased well. Make sure you pour the icing over as soon as you make it as it sets on the cake quickly (as you can see) but it doesn't set hard so you break your knife cutting the cake! I thought my icing looked better than the one in the recipe I found as it seemed to have more colour to it...this could be because the sugar there is different to the sugar here? Also for the syrup I used glucose syrup instead of corn syrup but you could probably get away with not using it at all. You can find the recipe here.